Installing and configuring the Conviva Pulse Salesforce Application requires you to install the Conviva Pulse package, add Conviva Pulse to a Lightning Experience environment, and set up Conviva Pulse using the Setup Assistant.
Install the Conviva Pulse Package
Install the Conviva Pulse package to allow data exchange between your Salesforce organization and Conviva's APIs.
To install the Conviva Pulse package:
-
Copy and paste the package install URL into your browser's address bar and press the Enter or Return key on your keyboard.
Note: If you do not have the package URL, contact your Conviva representative.
-
Log in using your username and password. The Install Conviva by Conviva Production Packaging page appears.
-
Select Install for Admins Only.
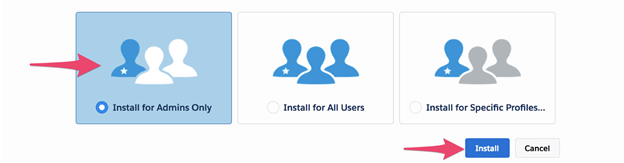
This option allows for controlling access and permissions after the package is installed. For more information, see Salesforce Documentation.
-
Click Install. The Approve Third-Party Dialog box appears.
-
Check Yes, grant access to these third-party web sites checkbox and click Continue.
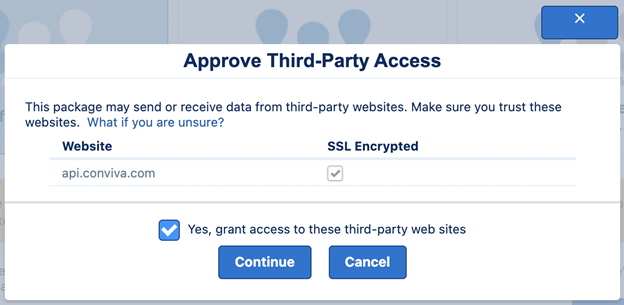
The Conviva Pulse package is installed.
-
Click Done.
Configure Conviva Pulse
Configuring Conviva Pulse is a three-step process:
-
Add Conviva Pulse Lightning Component to Record Pages
-
Set up Conviva Pulse using Setup Assistant
-
Verify Conviva Pulse Setup
Add Conviva Pulse Lightning Component to Record Pages
A custom object tab needs to be created before adding the Conviva Pulse Lightning Component.
To add a new custom object tab:
-
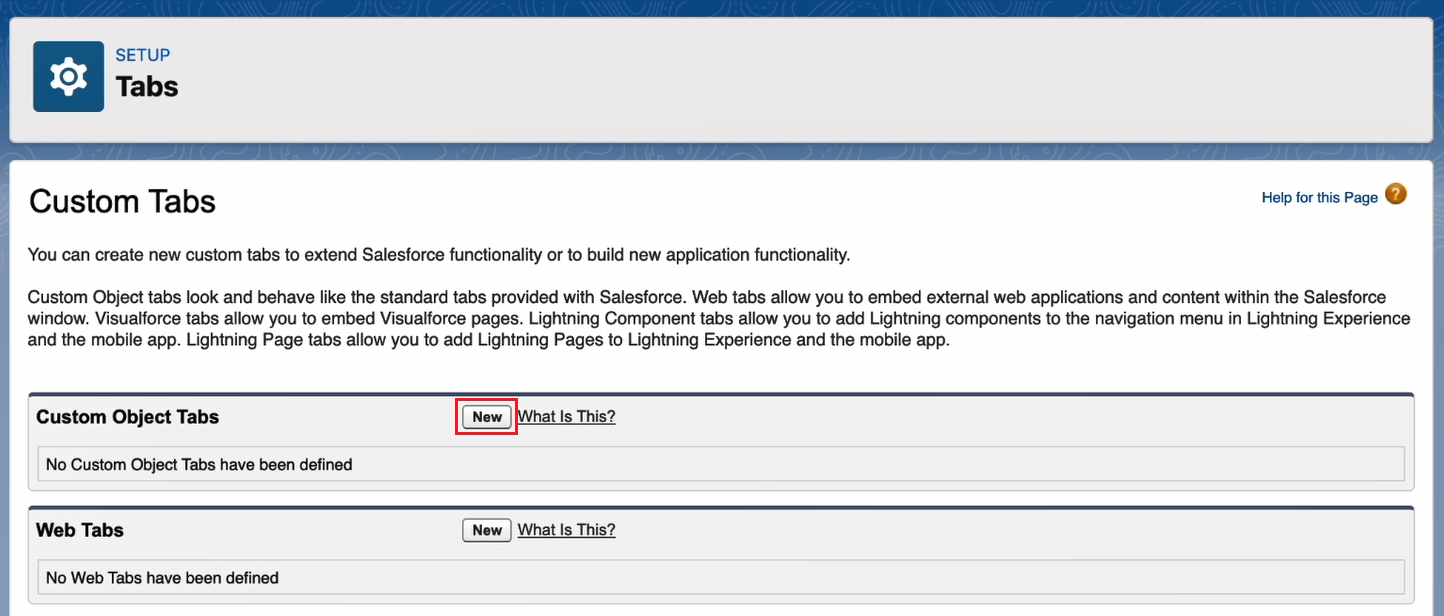
Go to Setup > Tabs.
-
In the Custom Object Tabs section, click New.
-
In the New Custom Object Tab page, from the Object drop-down menu, select Conviva Viewer and select a tab style. Click Next.
-
Review the tab visibility settings for user profiles and click Next. By default, it is visible to all user profiles.
-
Review the custom applications for which the tab will be available.
-
Click Save.
After creating a custom object tab, you need to add the Conviva Pulse lightning component. For more information about adding lightning components, see Salesforce Documentation.
Set up Conviva Pulse using Setup Assistant
The Conviva Pulse Setup Assistant needs to be configured to connect your Salesforce organization with your Conviva account.
To set up Conviva Pulse using Setup Assistant:
-
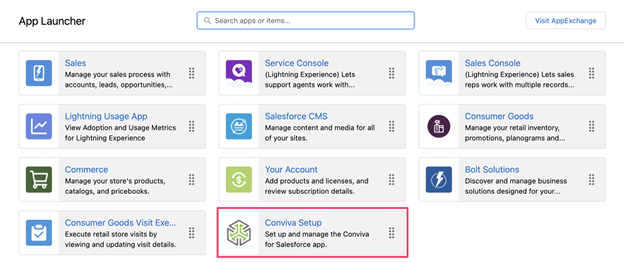
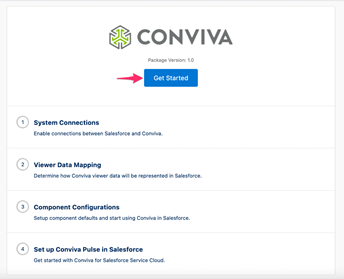
Go to App Launcher > Conviva Setup.

-
Click Get Started.
-
Enter your Client ID and Client Secret into their respective fields and click Authorize.
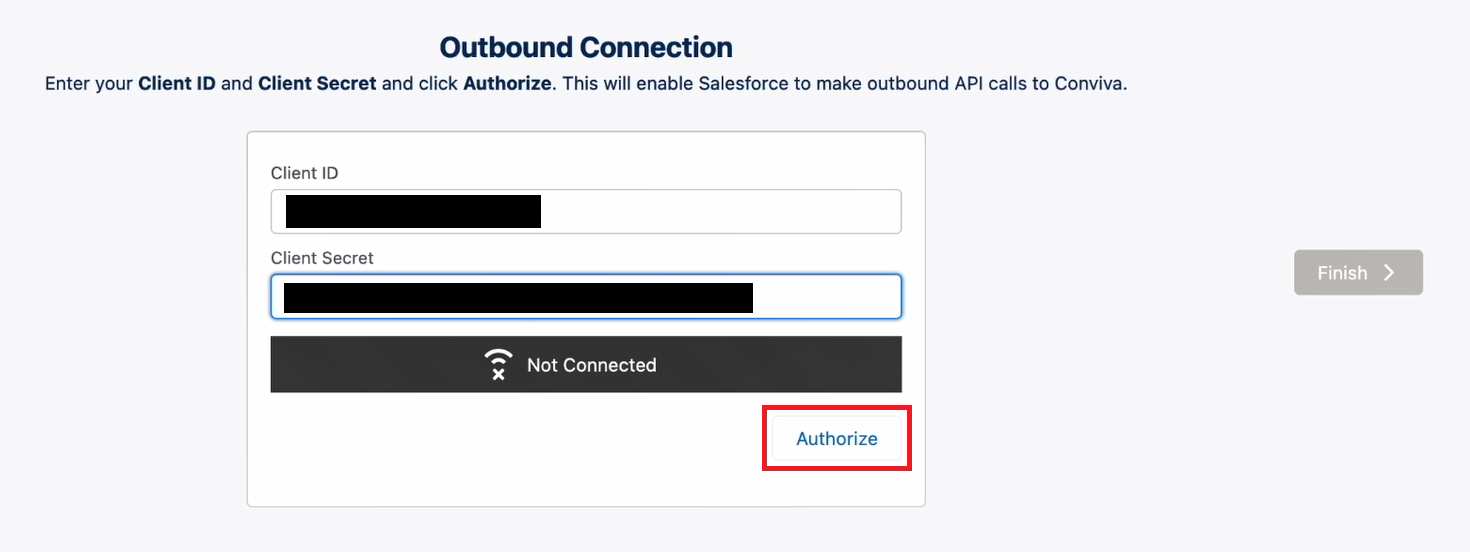
Note: The Client ID and Client Secret can be generated from the API Management page in Pulse. For more information, see API Management.
-
Click Finish.
-
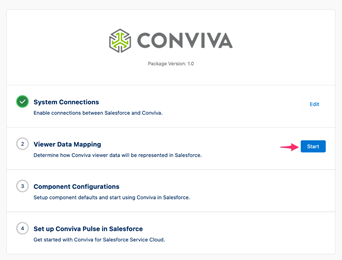
In the Viewer Data Mapping section, click Start.
-
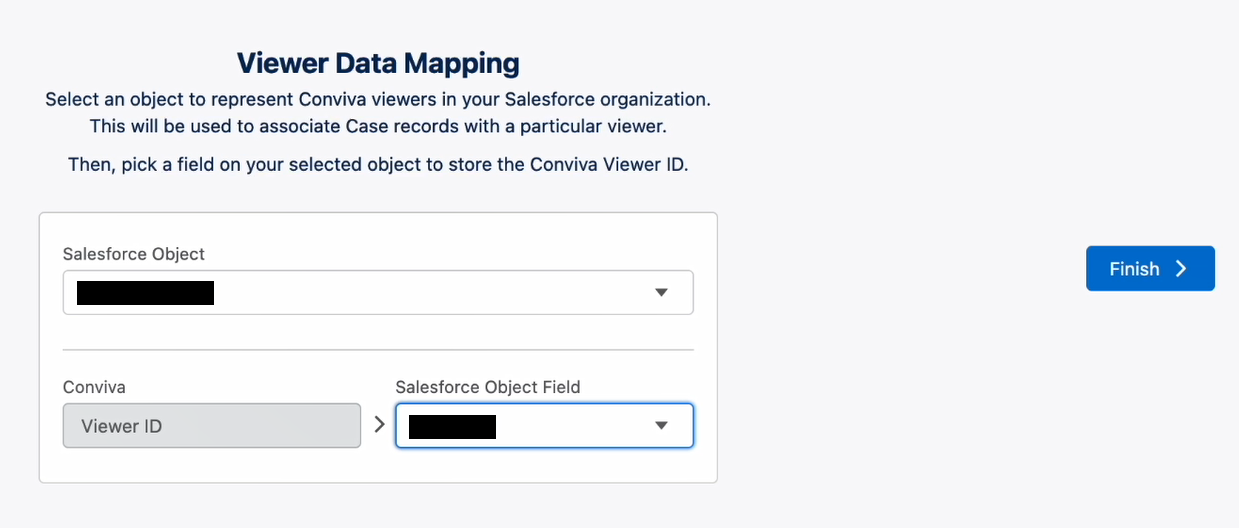
From the Salesforce Object drop-down menu, select the object that you intend to use to represent the Conviva Viewer. Then, from the Salesforce Object Field drop-down menu, select the field that represents the Conviva viewer ID.
-
Click Finish.
Verify Conviva Pulse Setup
After configuring Conviva Pulse using the Setup Assistant, you can verify the data exchange.
To verify Conviva Pulse setup for a case:
-
Go to App Launcher > Sales or Service.
-
Click on a case number.
-
Verify the data in the Conviva section.
For more information about using the Conviva Pulse Salesforce Application, see Using Conviva for Salesforce Service Cloud.