Conviva SCIM with Okta
SCIM Overview
SCIM (System for Cross-domain Identity Management) is an open standard that simplifies user management in cloud apps and services. It automates adding and removing users, keeping everything in sync with your organization’s identity provider (IdP). This reduces manual work, improves security by updating access quickly, and keeps user info consistent across systems. With a standard user format and simple protocols, SCIM makes it easier to manage user accounts across different cloud platforms.
Understanding Conviva C3 Account
Conviva C3 accounts are unique accounts given to each customer for accessing Conviva's Video and DPI applications. It's usually named in the format c3.<customer_name> (e.g., c3.Customer-Demo) and appears in the Pulse menu bar. Each customer can have multiple C3 accounts. For any account-related support, customers should reach out to their Conviva representative.
Supported Features
-
Import Users
-
Import users created in Conviva, match them with the existing Okta users, or consider them new users if no match is found.
-
-
Push Users
-
Creates a basic user record in Conviva’s database whenever a new user is added to the Conviva SCIM app instance on Okta.
-
By default, the user can not access any specific Conviva account.
-
-
Deactivate Users
-
Deactivates a user in Conviva’s database whenever an existing user is deactivated from the Conviva SCIM app instance on Okta.
-
The user's roles against each account in Conviva is revoked.
-
Requirements
-
The Conviva UI does not support deprovisioning for users provisioned through the Okta SCIM integration.
-
External users, such as third-party collaborators or vendors with non-organization email addresses, must be managed directly through the Conviva UI, not via Okta SCIM integration.
Generate API Token
To generate the API Token, reach out to Conviva Support (support@conviva.com).
Configuring Conviva SCIM Integration
-
Log in to the Okta admin portal and navigate to the Applications page.
-
Search for Conviva and click Add.
-
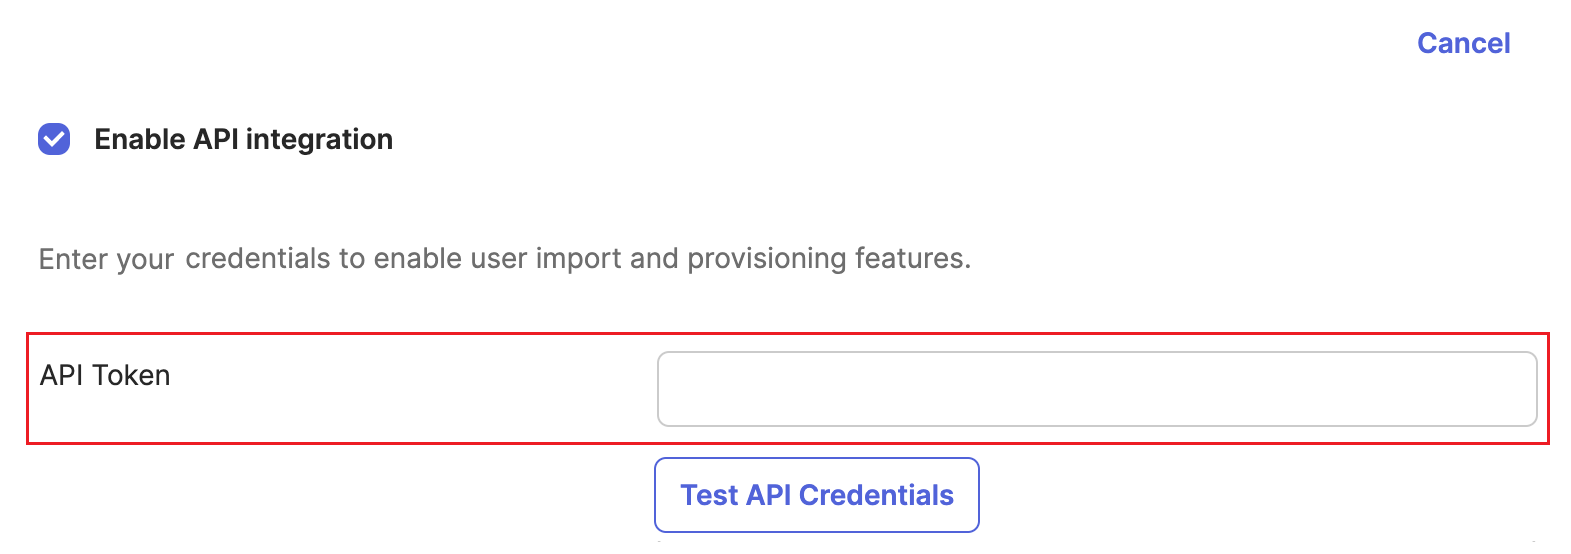
Navigate to the Provisioning tab and to select the Enable API Integration option to specify API credentials.
-
Paste the API token provided by Conviva Support (support@conviva.com) and click Save.
-
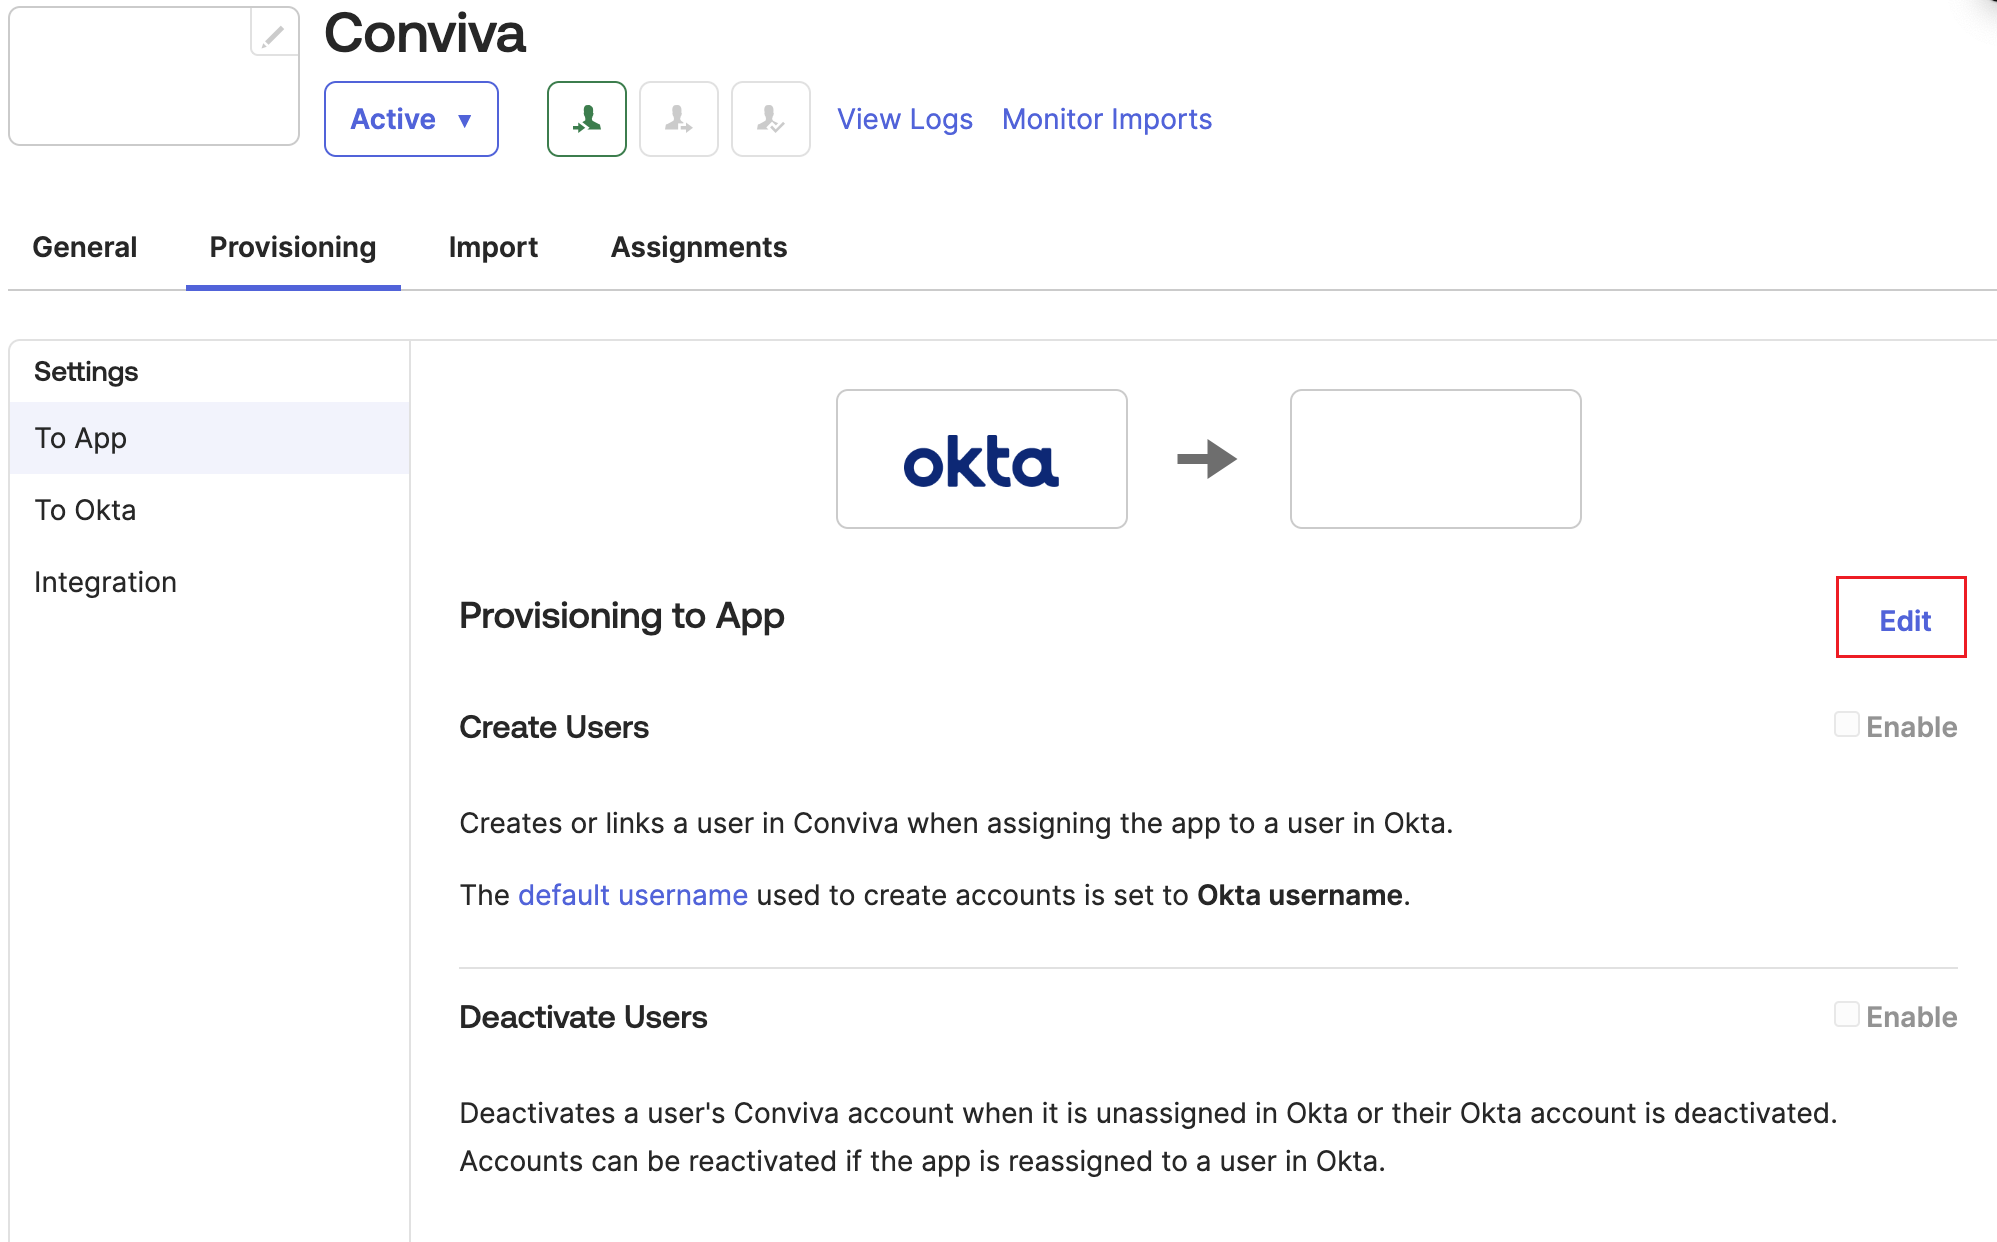
Navigate to the To App section and click Edit.
-
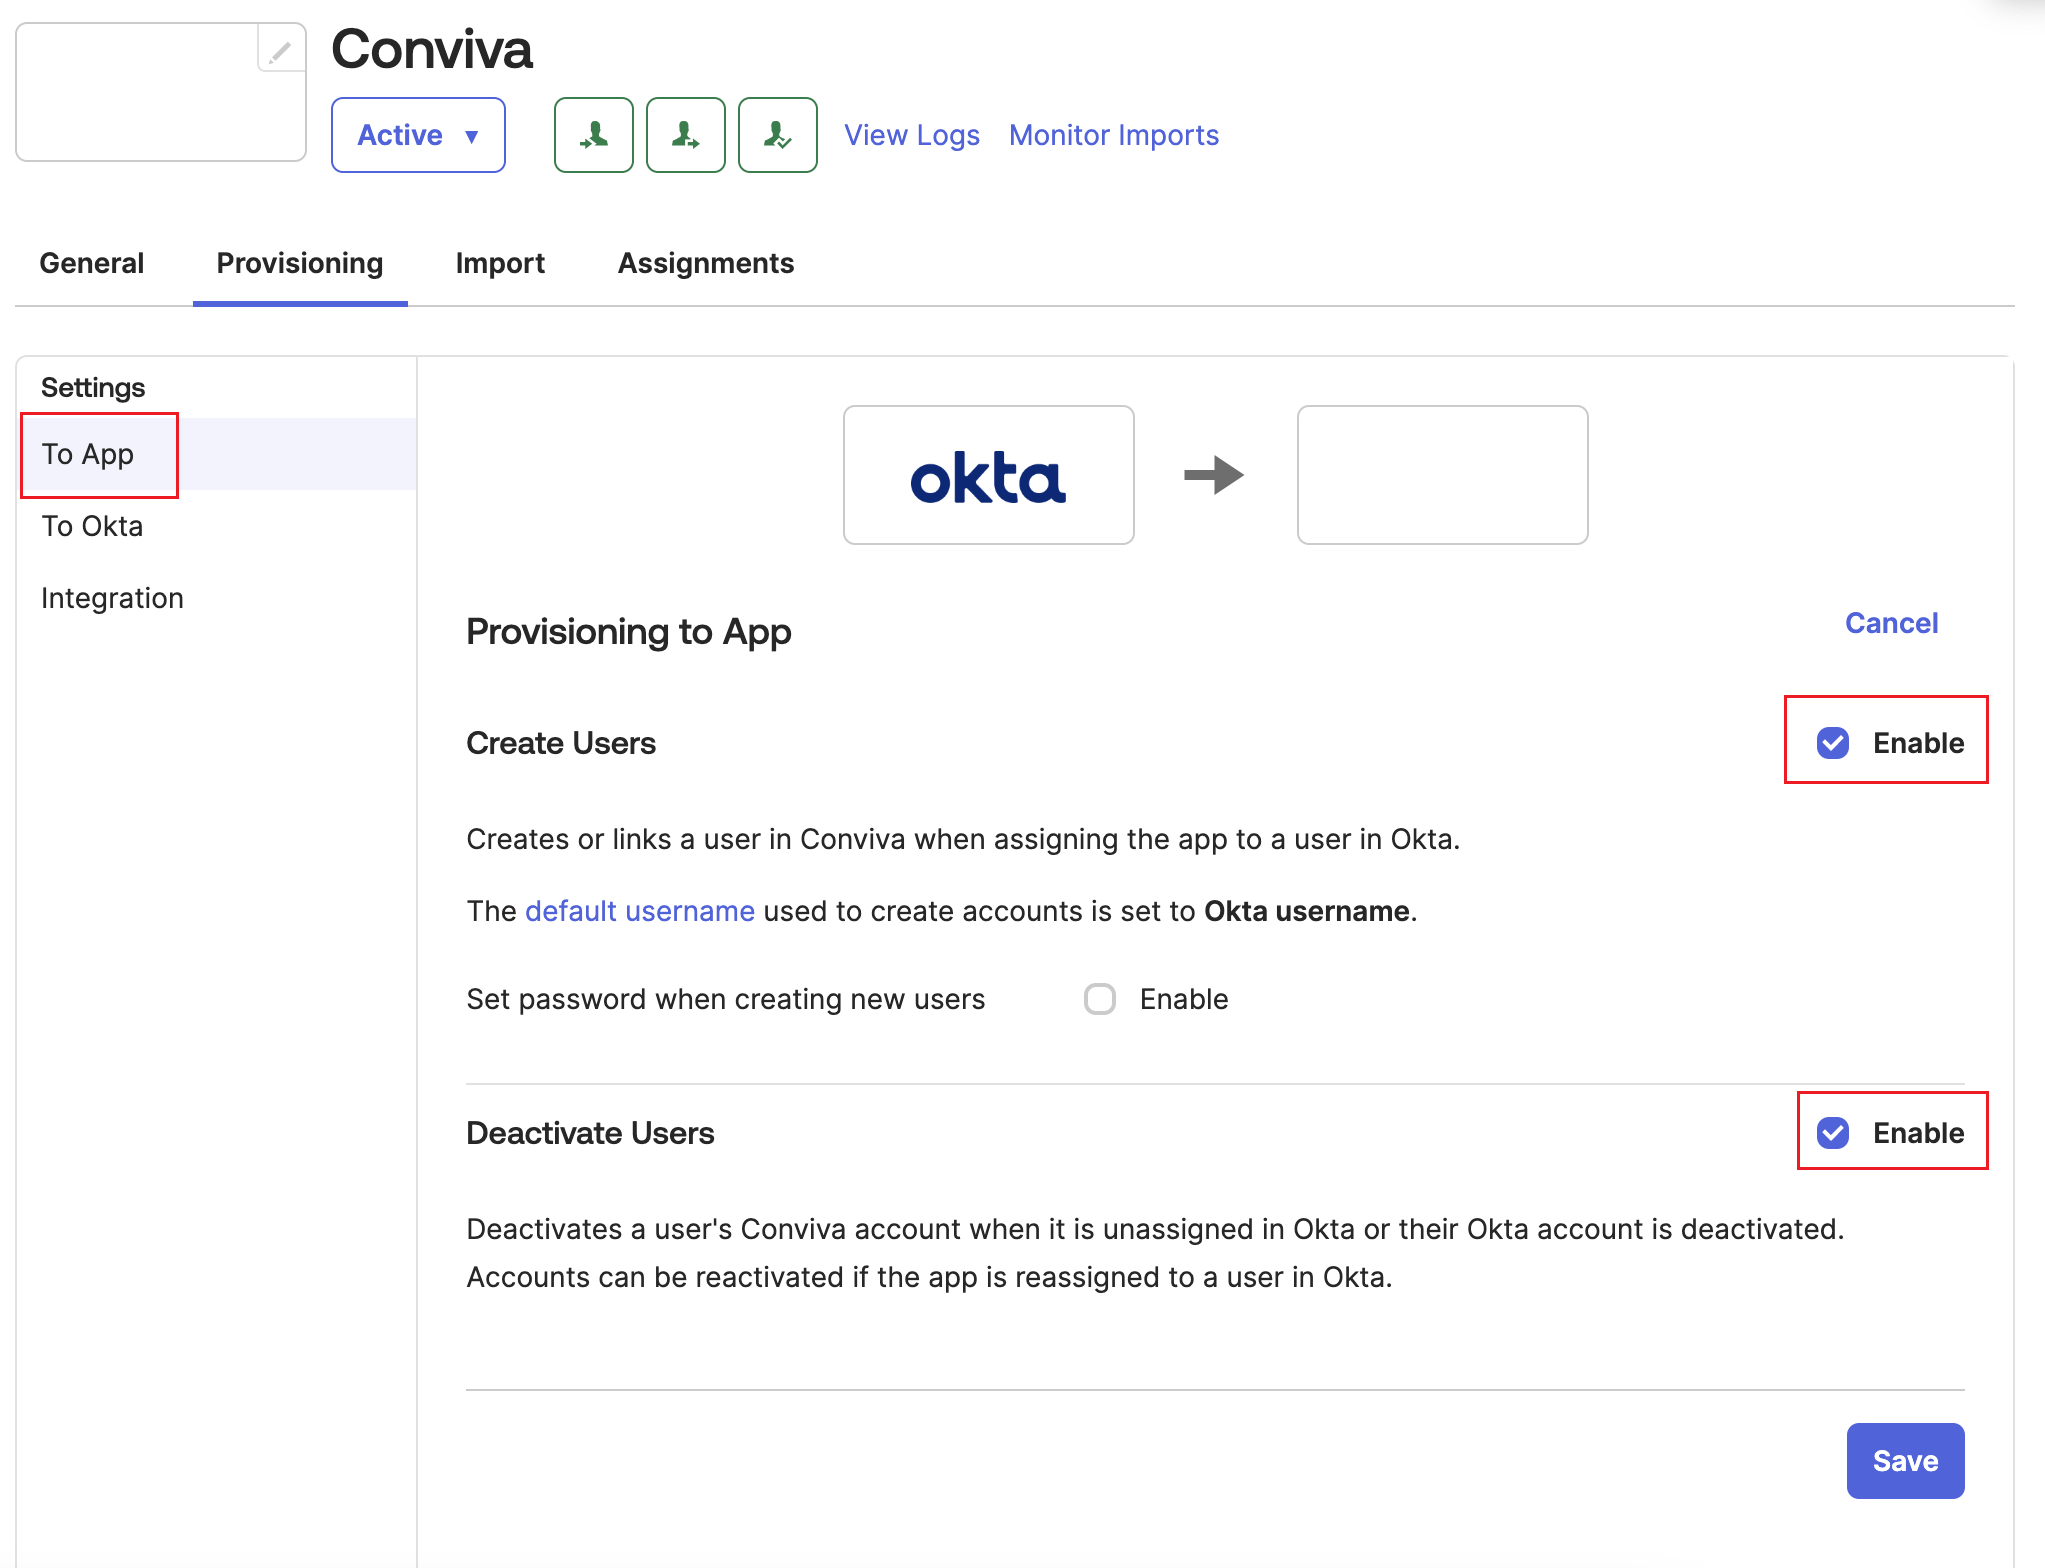
Enable the Create Users and Deactivate Users. Do not enable the Set password when creating new users option for users logging in through Single Sign-On (SSO).
-
Click Save.
Troubleshooting
Reach out to Conviva Support (support@conviva.com) for any assistance.