User roles manage permissions for groups by defining a set of permissions once and reusing it for all users who meet the same criteria.
Pulse provides two main default roles:
-
Admins have full permission with the ability to invite users to Pulse.
-
Staffs have limited permissions to create and edit filters, configure webhooks, and modify precision policies.
Pulse supports a variety of user roles to provide support different levels of feature and information access.
| Access Level | Enables These Privileges |
|---|---|
| Admin |
|
| Staff |
Note: As of 8 May 2025, all custom user roles have been updated to Staff roles, as custom roles are no longer supported. |
| Customer Service |
|
| Read Only |
|
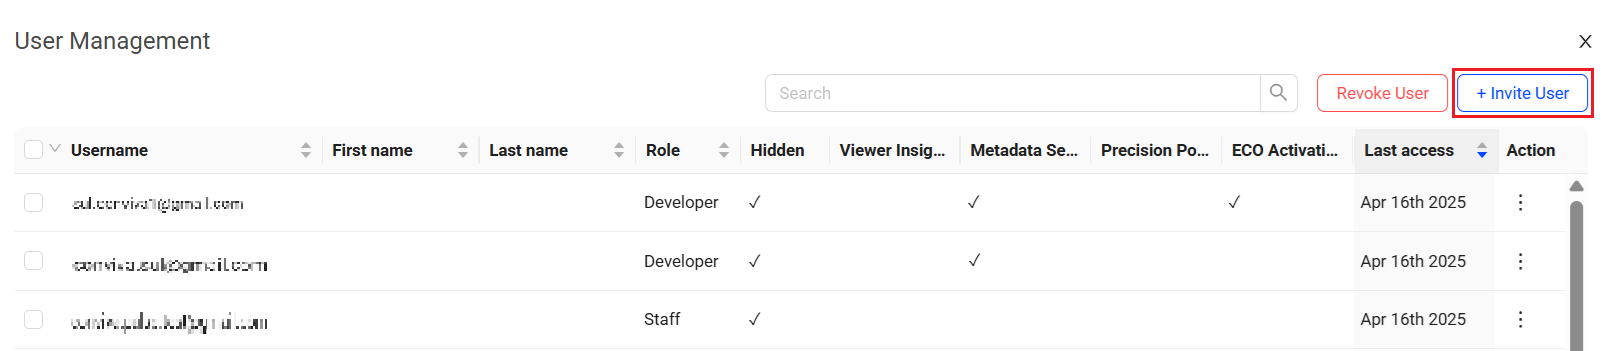
Invite Users
Admins use the Invite User screen to set user permissions and send invitations to the new users.
To invite new users,
-
On the User Management page, click +Invite User.
-
On the Invite User page, enter the email IDs (max 8).
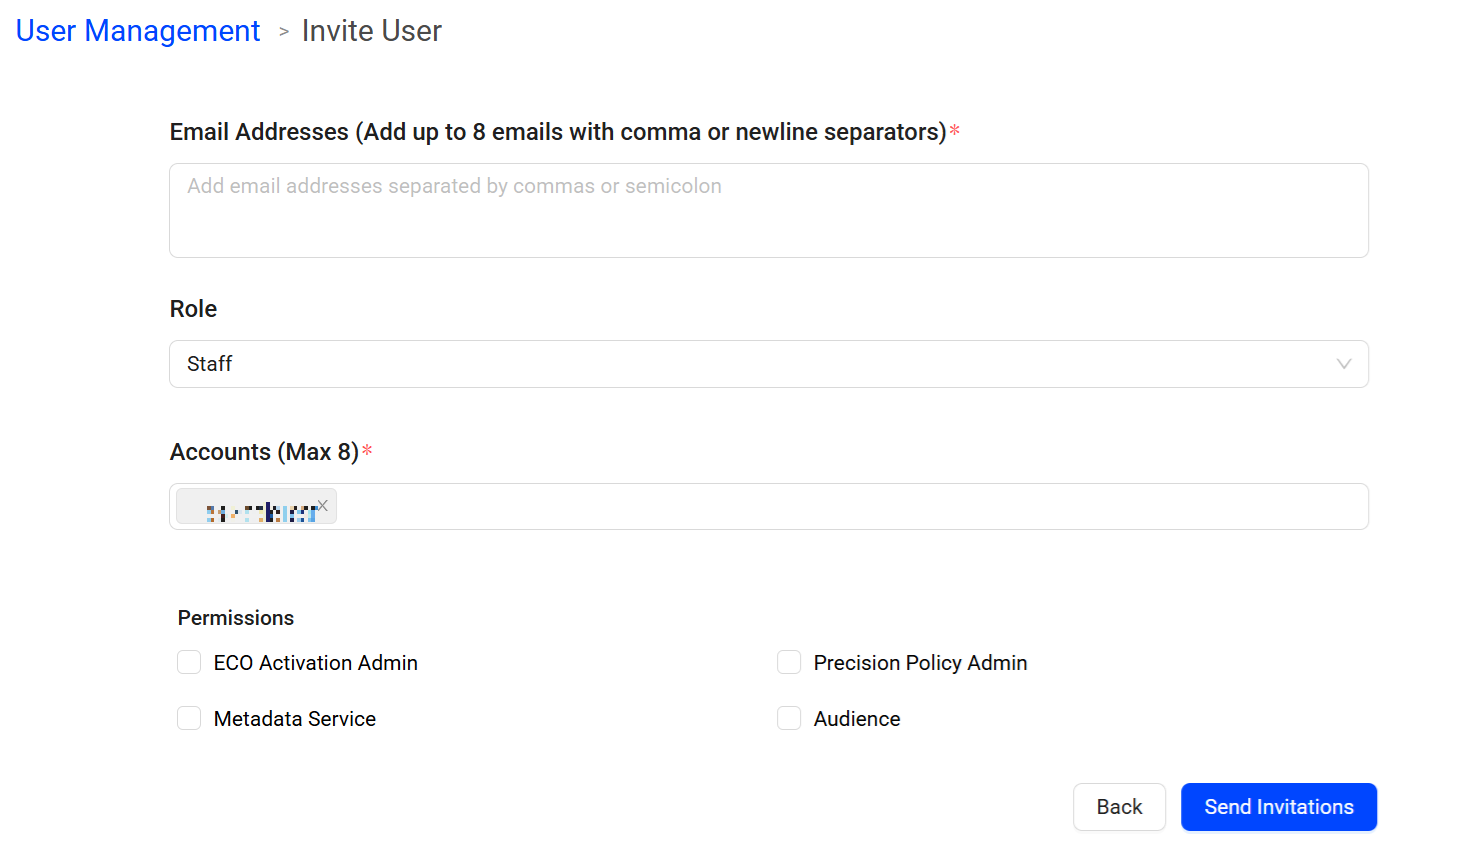
-
Select the user role from the drop-down.
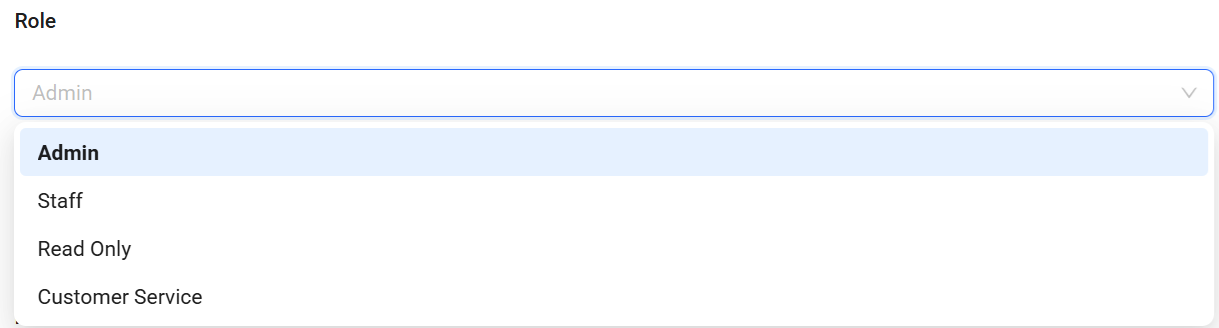
Note: As of 8 May 2025, all custom user roles have been updated to Staff roles, as custom roles are no longer supported.
-
Add the Accounts and select the Permissions for the user.
-
Nexa Permission:
-
No: Disables permission to use Nexa for this user.
-
Use: Enables permission to use Nexa for this user.
-
Enable: Grants Admins permission to enable Nexa for other users in this account.
-
-
-
Click Send Invitations to enable user access.
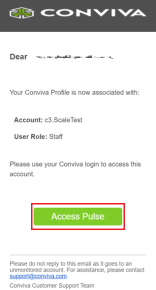
-
On the email received, click Access Pulse.
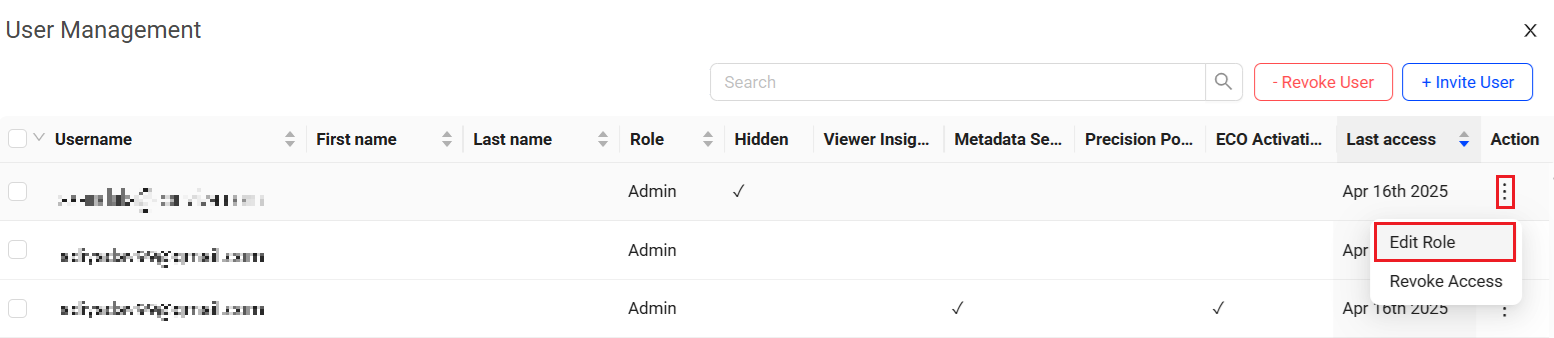
Edit User
To modify the user roles, control access, and permissions,
-
Click the kebab icon under the Action column and select Edit Role.
-
On the Edit User page, modify the required roles and permissions.
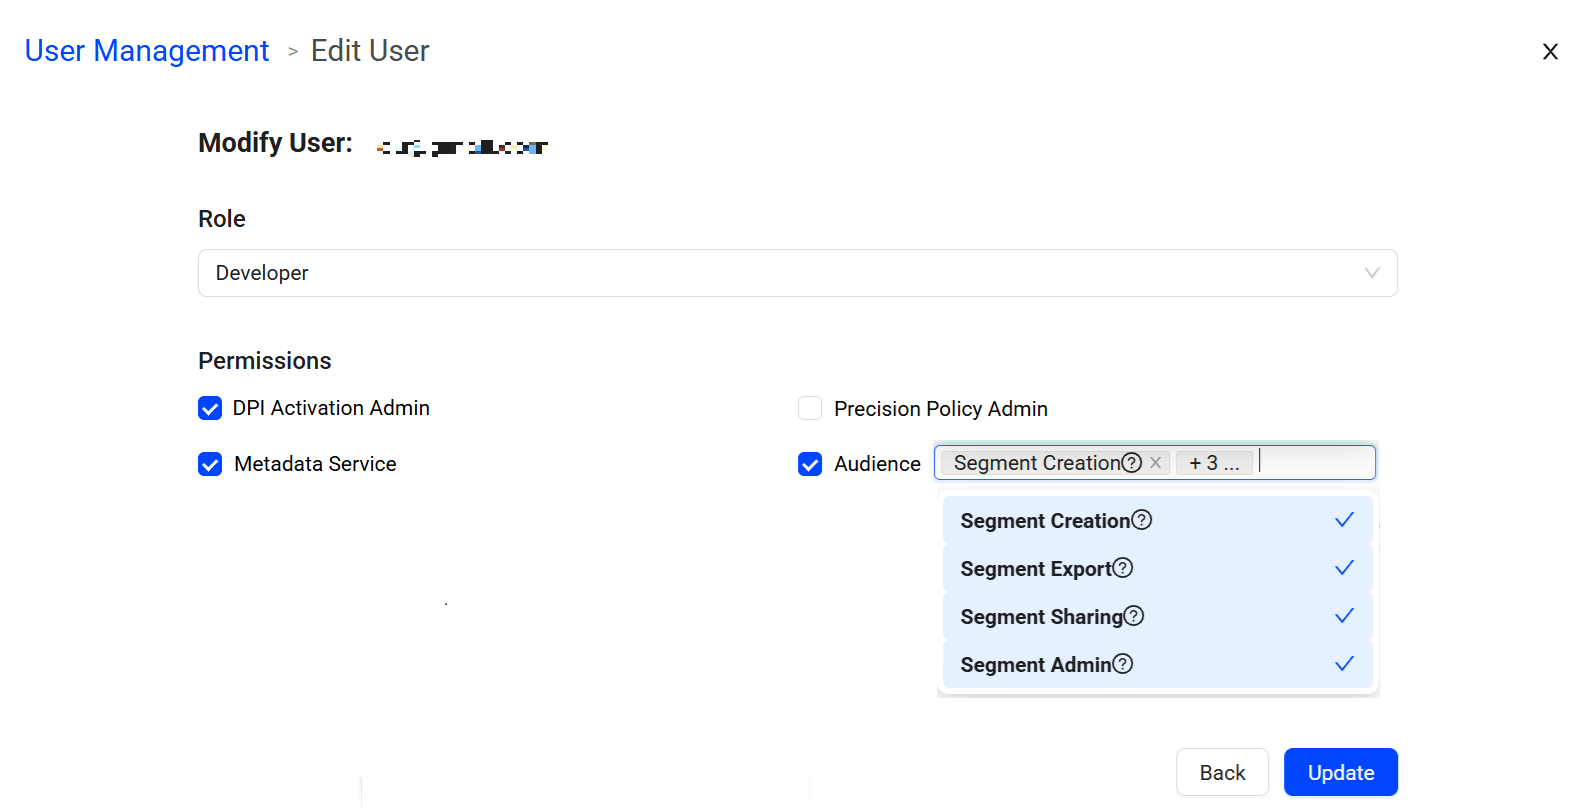
-
Click Update to apply the changes.
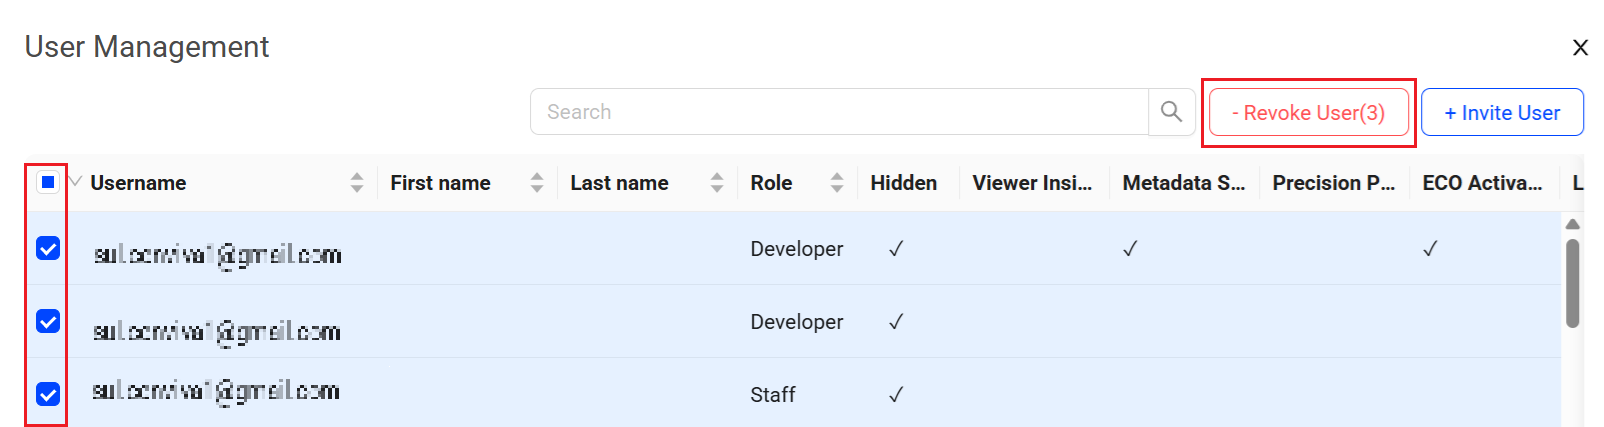
Revoke User
To revoke the user access from the system,
-
Select the users to be revoked and click Revoke User.
-
On the Revoke User page, confirm the email addresses and specify the user accounts.
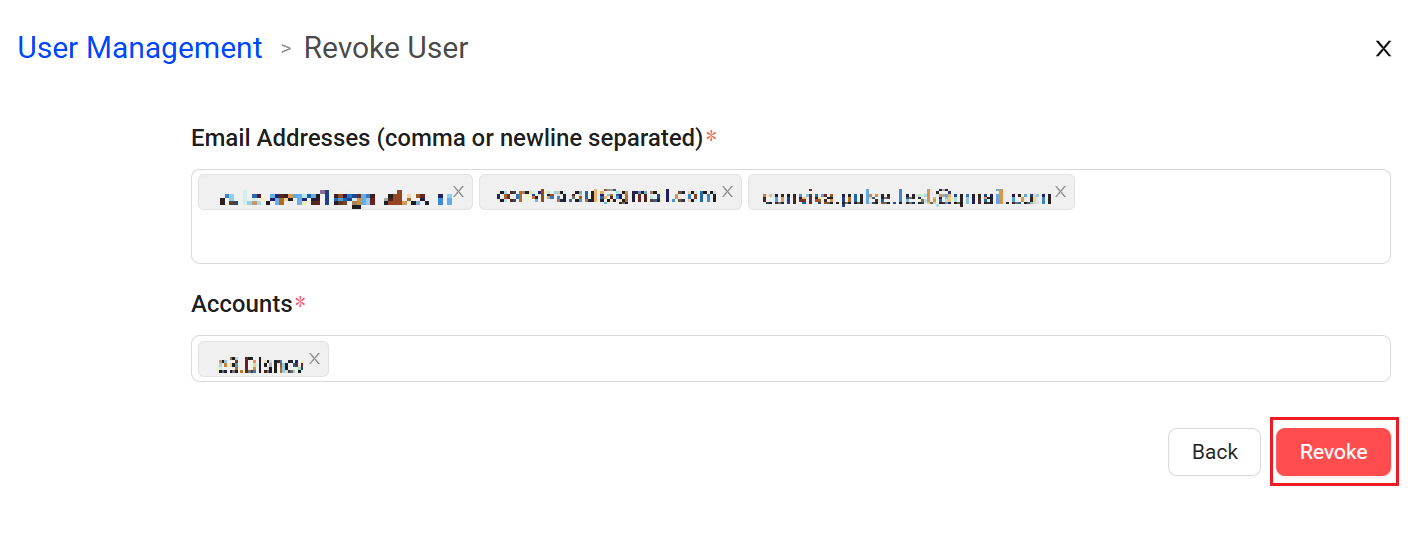
-
Click Revoke to delete the selected accounts.
Access Levels User Roles Invite Edit User Access Levels New User Member Priviledges Priviledges Permissions Permissions Permissions Revoke User Permissions Permissions Permissions Permissions Permissions Permissions